
How To Use Target ID On A Metal Detector
Are You Ready To Become A Master At Identifying Targets When Metal Detecting?
Whether you're a beginner or a seasoned detectorist, understanding how to decode the signals and clues from using Target ID from your metal detector is key to uncovering hidden treasures. Identifying targets while metal detecting is like solving a fun mystery!
In this article, I’ll dive into the exciting world of how to use a metal detector’s target identification (Target ID), discrimination settings, listening to your metal detector, and practicing digging techniques to help equip you with essential knowledge to better understand what your metal detector is trying to tell you.
Let’s dig into some tips to help you become an expert at identifying what's hiding beneath the ground while metal detecting.
**DISCLAIMER - The links in the article are affiliate links that help support this blog and my channels. Metal Detecting Life is supported by you, the readers! When you purchase something I recommend via my links, I may get an affiliate commission (terms of service) — but it never affects the price you pay. Cheers!
Listen to Your Detector
Your metal detector is your trusty sidekick. Pay attention to the sounds it makes when you pass over a target. Different targets produce distinct sounds or tones.

Photo Credit: Ilyuza Mingazova - Unsplash
For example, coins might sound different than bottle caps or nails. By listening carefully, you can start to recognize patterns and get a sense of what you might have found.
This is known as “Target IDs” and understanding them can help you decided if the item is worth digging or not.
Observe Target IDs
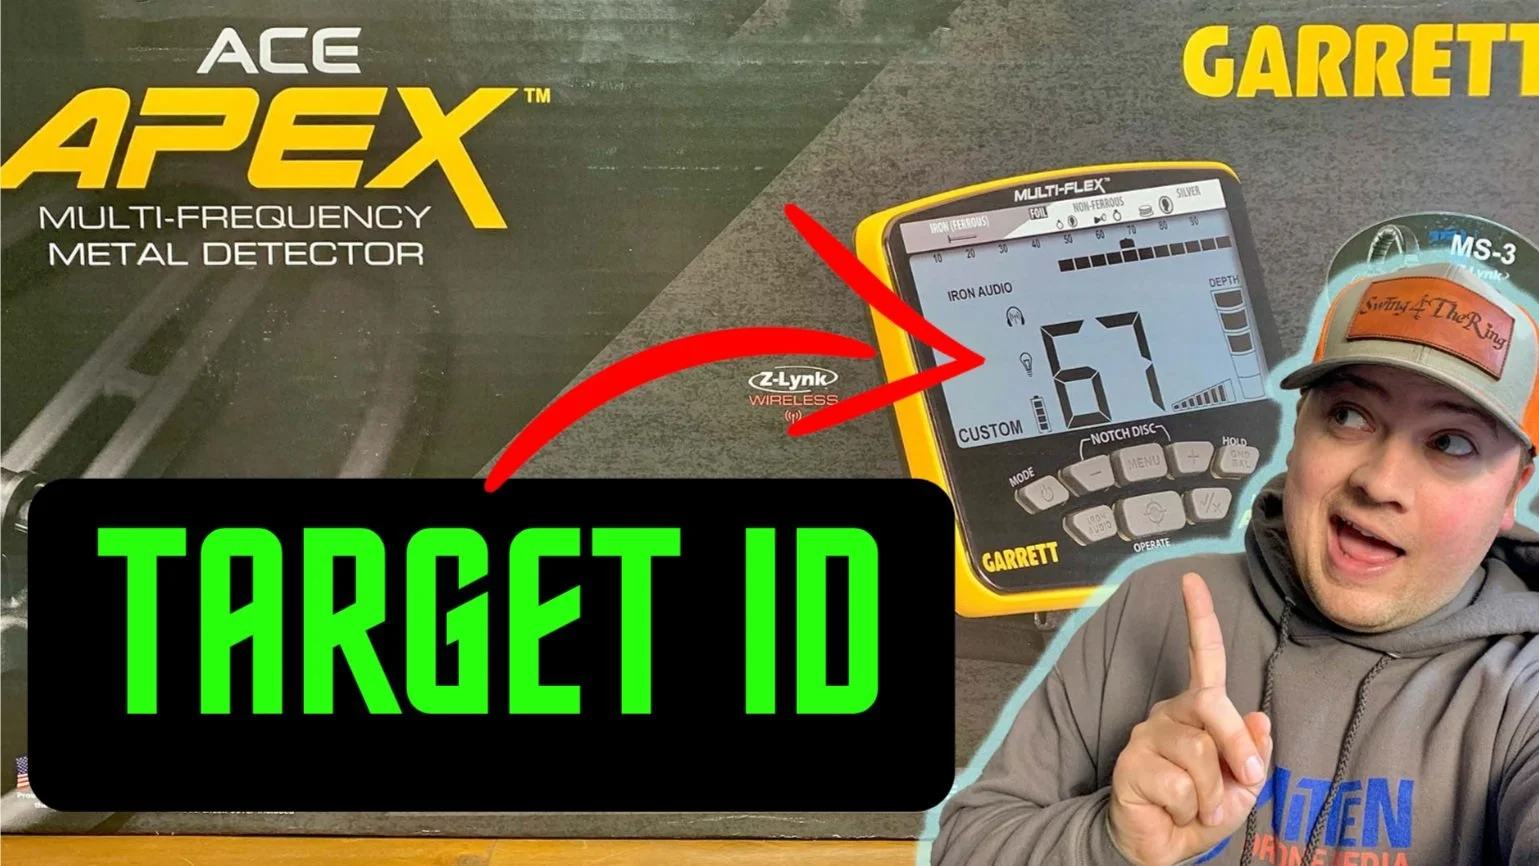
Many metal detectors provide target identification ID numbers or symbols on their display. These IDs can give you a clue about the type of target you've detected.

Metal detector brands such as Garrett come equipped with a digital target ID screen built in to the detector to help give the user an idea of the type of target under the coil before you even dig your hole.
For example, a high number might indicate a coin, while a lower number could be a piece of foil. Take some time to study and familiarize yourself with the Target ID patterns specific to your detector. It's like deciphering a secret code!
When metal detecting, Target IDs refer to the numbers or symbols displayed on your metal detector that provide information about the type of target you've detected. While Target IDs can vary depending on the specific model and brand of your detector, here are some general Target ID categories commonly found:
Ferrous Targets vs Non-Ferrous Targets
Ferrous targets are objects that contain mostly iron. They typically register as low numbers on the Target ID scale, often ranging from 0 to 40. Examples of ferrous targets include nails, screws, bottle caps, and other iron debris. These targets are commonly considered trash or unwanted items by modern day treasure hunters.

Image credit: Empire Abrasives
Non-ferrous targets are objects that do not contain iron. They generally register as higher numbers (40+) on the Target ID scale for many detectors. These targets can include various valuable items such as coins, jewelry, relics, and other non-ferrous metals that are highly sought after such as copper, brass, silver, or gold.
Coins
Coins are a popular target for metal detectorists, and different coins can have specific Target IDs. For example, a penny might register as a lower number, while a dime, quarter, or larger coin may register as a higher number. Coin target IDs can vary depending on the denomination, age, and composition of the coin.

Foil and Small Objects
Lightweight aluminum foil or small pieces of foil often register as low numbers on the Target ID scale. These targets are typically considered trash or less valuable finds such as gum wrappers, toothpaste tubes, and tinfoil.

Pull Tabs and Ring Pulls
Pull tabs from beverage cans or ring pulls from older cans can produce Target IDs that fall within a specific range. They can vary depending on the type and size of the pull tab, but they often register in the mid-range of the Target ID scale.

Pull tabs are often found with metal detectors because they have the same target ID and tone as gold rings.
These mid-tones are common among gold targets and if you hope to find gold with your metal detector, you’ll have to dig these mid-range targets, so expect a lot of pull tabs.
Relic & Jewelry Targets

A metal detector's target ID can vary depending on the size of the target being detected and the type of metal it is comprised of.
Other targets such as jewelry, artifacts, or unique items may have specific Target IDs based on their composition, size, or shape. These targets can vary significantly, and it's essential to familiarize yourself with the specific Target IDs of your detector through practice and experience.
Target IDs Vary
Remember, Target IDs can serve as helpful indicators, but they're not always 100% accurate and the numbers could vary depending on the type of metal detector and the brand or manufacturer.

The Garrett AT Pro has a very helpful Target ID user interface
The chart below serves as a reference in relation to Target IDs for a few popular metal detectors such as the Garrett AT Pro or the Nokta Simplex along with some common targets treasure hunting enthusiasts are searching for:

Recovering Your Find After ID-ing A Target
Factors like depth, target orientation, soil conditions, and the detector's settings can influence the target ID readings as well as how difficult it will be to retrieve your item.
If you’ve determined the Target ID to be worthy of digging, let’s look at a few tips and tools to make sure you are able to successfully extract your target from the ground.

Digging Techniques
Once you've received a signal and determined it might be a valuable target, it's time to dig! Use a small shovel, trowel, or handheld digging tool to carefully excavate the target area while digging the perfect plug.

Stop Scratching Your Targets When Digging
Learn how to cut and dig a proper plug while metal detecting so that you don’t end up damaging a find while it’s still in the ground.
As you dig, keep an eye out for any visual clues that can help you identify the target. Look for shiny metal, interesting shapes, or distinctive colors. Remember to handle the soil gently to avoid damaging any delicate items you may uncover and always fill in your holes!
Use a Pinpointer
A pinpointer is a handy tool that helps you locate the exact location of a target within the hole you've dug. It's like a metal detecting superpower!
Once you've removed some dirt, use the pinpointer to scan the hole. As you get closer to the target, the pinpointer will beep or vibrate. This precise targeting can save you time and effort.

How Close Are You?
Find out how a pinpointer can help you while metal detecting and which ones I would recommend so that you don’t miss any treasure in the hole.
Have a Finds Bag
After you’ve worked so hard to locate and extract your newly found treasure, it would be silly to not have a safe place to put it so that it doesn’t become lost again.
Having a finds bag or a dedicated set of pockets is vital to insure you get to take your targets that you worked so hard to ID home with you after an exciting day of metal detecting!

Having a finds bag such as one from Garrett, is a necessity when metal detecting so that you have a place to safely keep all of your newly acquired treasures!
Practice Makes Perfect
Identifying targets takes practice and experience. Spend time in different locations, digging various targets, and learning what your metal detector’s Target ID is telling you from each find.
Over time, you'll become more familiar with the signals your detector provides and the visual cues that indicate certain types of treasures. It's like becoming a detective of the dirt!
Remember, patience and persistence are key when it comes to target identification. Each find brings you closer to becoming an expert at deciphering the clues hidden in the ground.
So, put on your detective hat, trust your detector, and enjoy the thrilling process of uncovering hidden treasures!


